

Activities- science, art, history, reading, writing:
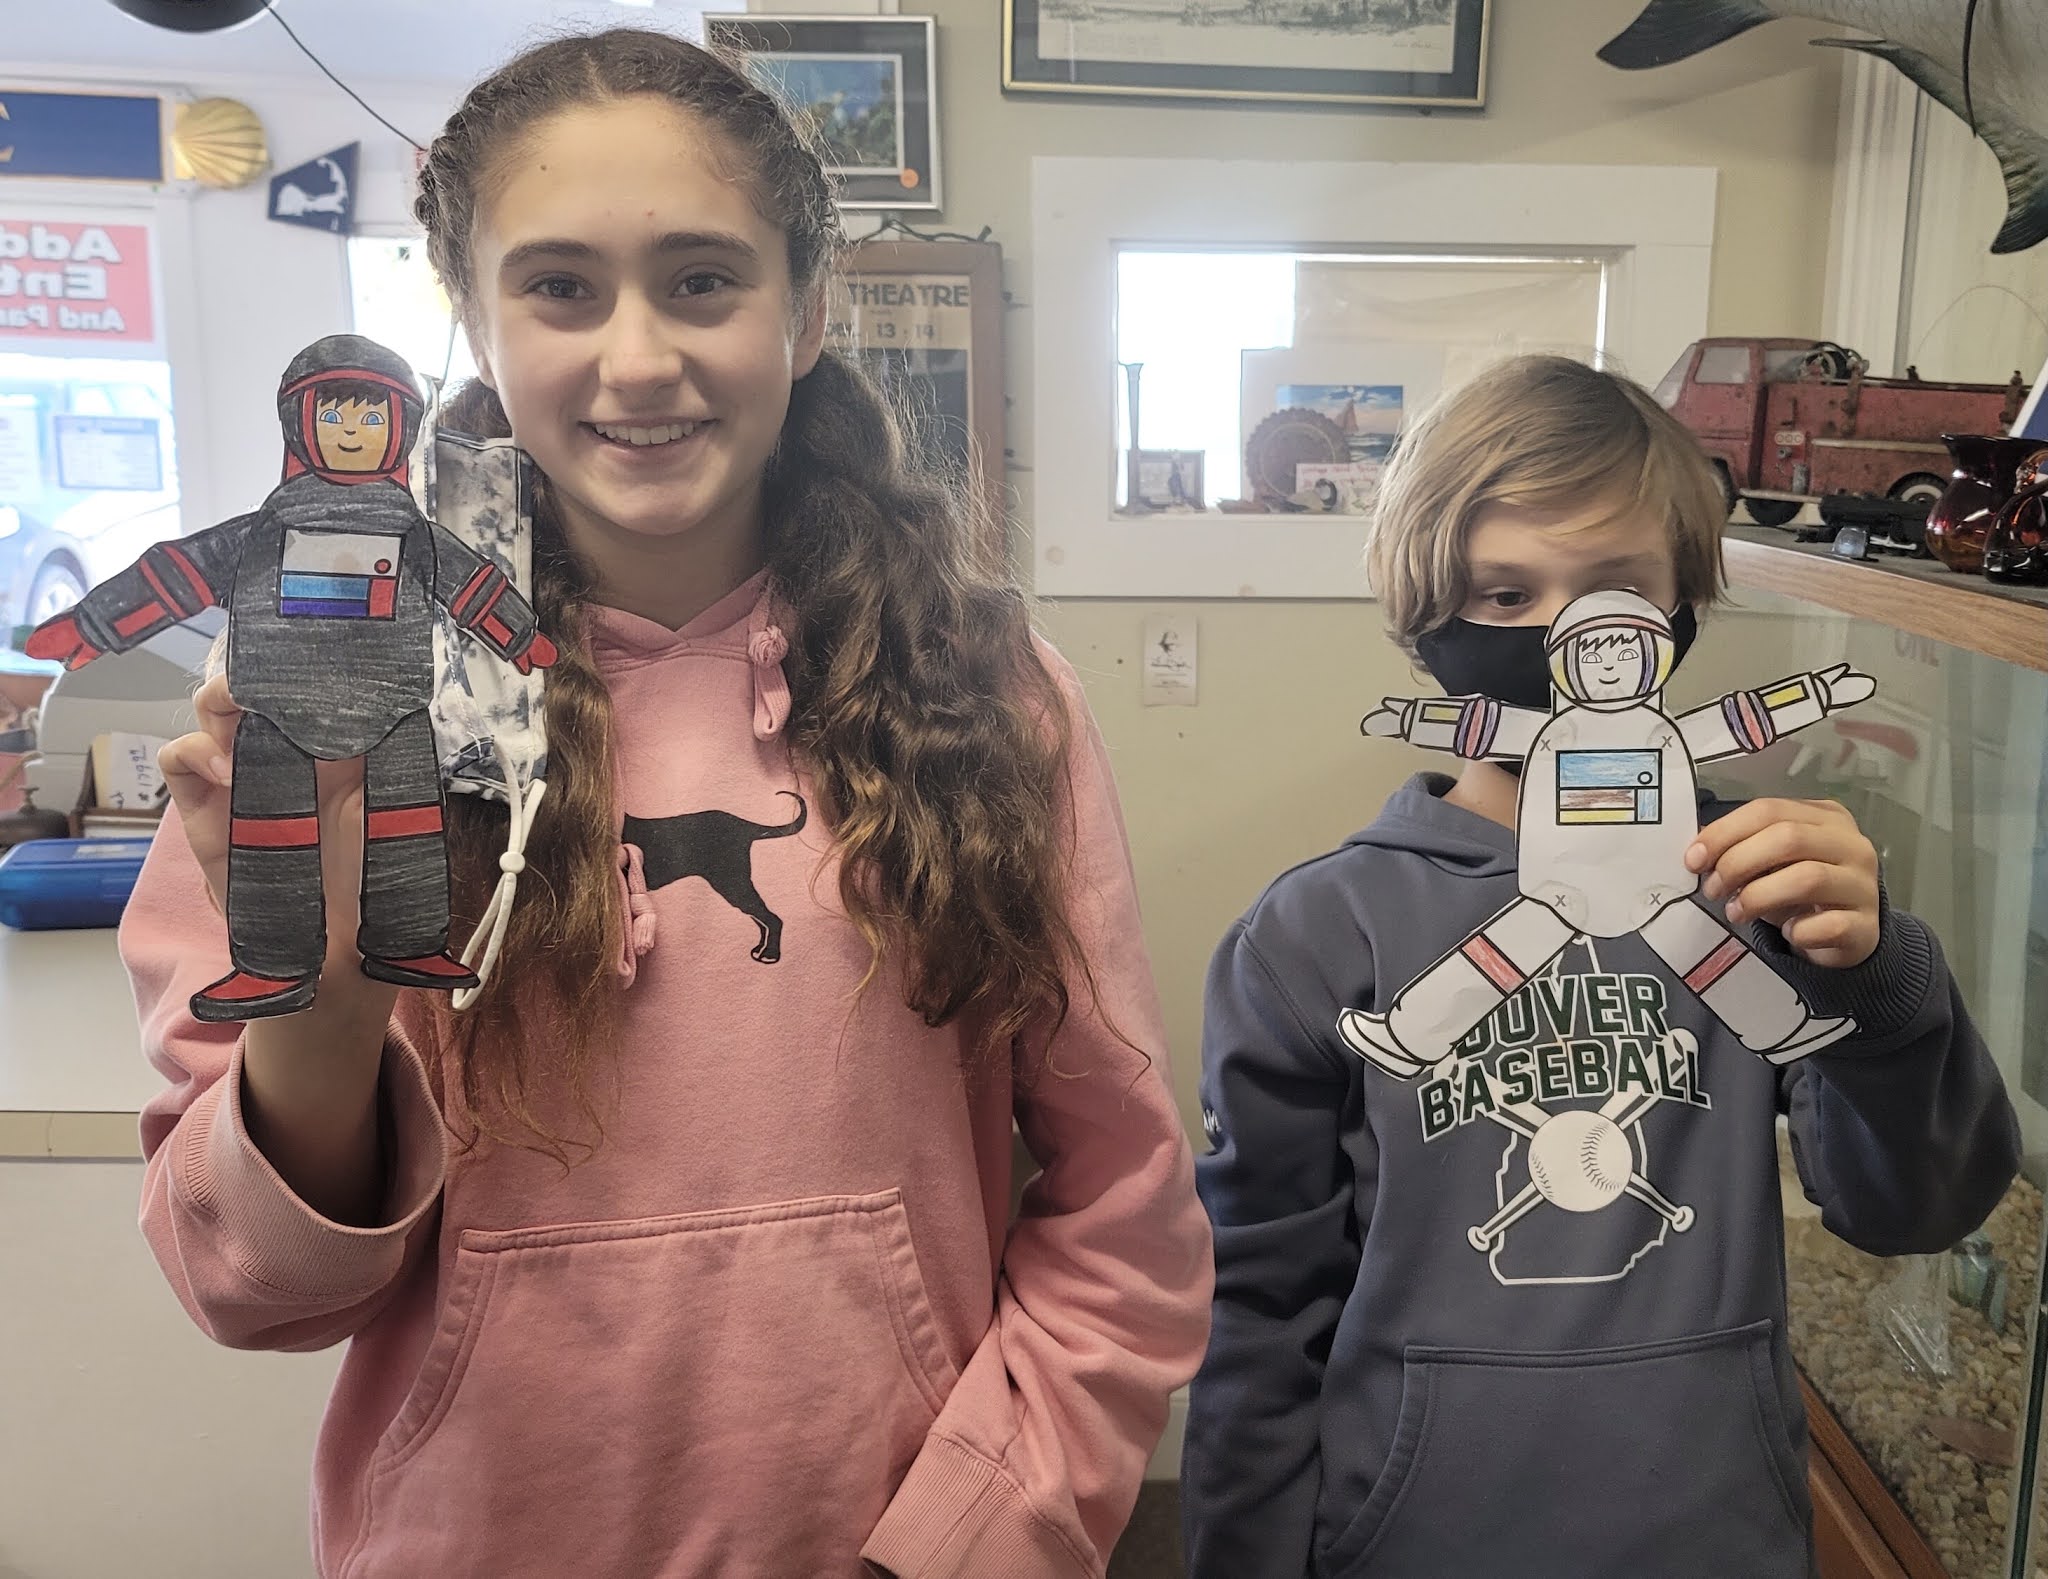
The kids watched the Spirt of Saint Lewis movie, colored astronaut pictures, ate astronaut ice cream, created a paper diorama and put up a plastic outer space with planets on the ceiling of their room. They also completed a few worksheets about Neil Armstrong and the first moon landing.


We paired this book with the Easy Peasy all in one homeschool lessons on Aeronautics from the Science- Chemistry/ physics section of their website. https://allinonehomeschool.com/science-year-4/
Here are some of the pictures from our science lessons that are associated with Easy Peasy Homeschool.


Aerodynamics- Here are the Easy Peasy lessons we used:
Lesson 31
Level 1-4
- Read this page on flight and look at the images.
- What are two types of flight?
- How are airplanes similar and different from flying animals?
Level 5-8
- Read this page on flight and look at the images.
- Explain the different kinds of flight.
- How are airplanes similar and different from flying animals?
- Watch this video of the world record paper airplane throw. It starts falling but then goes up again. What’s happening? How is it flying?
Lesson 32
Level 1-4(*)
- Read about the principles of flight.
- (*)Write on this page and answer, “What is aeronautics?” (answer: You can word this any way, but aeronautics is the science surrounding flight.)
Level 5-8(*)
- Read about the principles of flight.
- Take notes!
- (*)Here’s a notebooking page if you want it.
Level 1-4*
- Read this page on forces in flight.
- *Make a paper airplane. Put a little hole in the middle of it. Pull the string through the hole so that half is up and half is down. Tape it in place. Lay the straw along the middle of it. If it doesn’t stick out both ends, cut it in half and tape each half so that each sticks out one end. Cut out these labels, flight forces, and tape them onto the string and straw. Here’s a completed plane.
- Here’s a picture as to where the forces go. We are going to learn about each of these forces in flight.
- Hang your plane somewhere if you can.
Level 5-8
- Read this page on forces in flight.
- Draw a diagram of the four forces which control an airplane. We’ll learn about each of these forces separately. This is an overview. (Okay, if you want, you can make a paper airplane like the elementary school kids are doing.)
Level 1-4
- The first force in flight we are going to look at is gravity. Now you are thinking, that’s not even on my airplane I made! It is; you called it weight. Gravity is what gives us weight. It is actually gravity pulling down on our mass that makes the scale go down, showing how much we weigh.
- Your mass is how much matter you are made of. Gravity pulls on all mass with the same force. Gravity is always pulling everything at the same speed.
- Hold a small coin in the air. Let go. It fell, right? Well, actually, gravity pulled it down to the earth.
- Now do the same with the bag of coins. Same thing?
- Now, your bag of coins should feel heavier than the one coin. Which will fall faster?
- Drop both at the same time.
- Did they hit the ground at the same time? Why? Because gravity is always pulling everything at the same speed.
- Now test a bunch of other things. Do you have a golf ball or tennis ball in the house? Try dropping other things together.
- Now, air can get in the way sometimes. Air pressure will push up on objects that are more spread out than others. Here is this experiment done on the moon where there is no air to get in the way. Watch the video. (Now go tell someone all about it. Someone sent me this second example of the experiment.)
Level 5-8
- Watch this video.
- Describe what happened.
- Did you expect something dropped and something shot out to land at the same time?
- Do you want to try it?
- Place a coin on the edge of a table. Place your ruler half on / half off the table. Put a finger in the middle of it to hold it to the table. Place the other coin (same type of coin) on the edge of the part of the ruler that is hanging off the table. (Works best where you can hear the coins hitting the floor.)
- You are going to quickly hit the very end of the ruler that is hanging off the table. When you do that, you will be knocking it out from under the one coin so that it drops and you will be striking the other coin so that it flies off. Try it several times.
Lesson 35
Level 1-4*
- On Lesson 34 we learned that gravity makes all masses speed up at the same rate.
- Gravity doesn’t pull at everything in the same way though. The more mass, the more gravity pulls on it, which is why we all weigh different amounts (even if we all fall at the same speed).
- Also, every object has a gravitational force. You have a gravitational force attracting everything to yourself! It’s such a tiny, itty-bitty force that it doesn’t really affect anything. The earth, since it’s so big, has a big gravitational force, which is what makes your ball fall down when you throw it and keeps you from floating away.
- Astronauts can float in space because they get too far away from the Earth’s gravitational force. The don’t float right off the Moon because it, like everything, has a gravitational force. The Moon pulls things towards itself too. It’s big enough that its gravitational force keeps the astronauts from floating away. BUT, the Moon is a lot smaller than Earth so that its gravitational force isn’t as strong as Earth’s. Watch this astronaut jump around, showing that there is less gravity on the Moon.
- For the next one skip to :45 and watch him jump two times. Does it seem like it’s in slow motion? He’s falling slowly because there is less gravity on the Moon, less gravitational pull.
- You are going to fill in a worksheet that shows how much you would weigh on each planet. Each planet is a different size, so it pulls down on your mass with a different amount of gravitational pull. Write your weight on earth in the box and use a calculator to multiply.
- *Print out this worksheet and use a calculator to fill it in.
- Explain to someone why you would weigh less on Venus.
Level 5-8*(*)
- *Print out this page, read it and fill in the chart.
- Here’s a video of an astronaut falling “in slow motion.” He falls more slowly in space because the Moon is smaller than Earth, so it has less of a gravitational pull. His mass is the same, but his weight (gravity pulling on his mass) is different. He is pulled to the Moon with less force than on Earth since the force, the speed at which gravity pulls, is less. Makes it seem to us like it is slow motion.
- Explain to someone why you would weigh less on Venus.
- (*)Explain in writing how mass, weight and gravity are connected. Mass / Weight Notebooking Page.
Level 1-4
- We learned about gravity which pulls airplanes down. Now we’re going to learn about the opposite, lift. It’s what lifts airplanes up.
- How does air keep up an airplane? Watch the video for the first three minutes.
- Take a strip of paper. Hold it up to your lips. Blow over it. Blow under it. When does it go up or down? Why?
- When you throw a frisbee, what is holding it up in the air?
- Does air pressure really hold things up? Stick a straw into water and hold your finger over the open end. Take the straw out of the water. Is the air holding the water into the straw? Yes! That’s air pressure at work and it’s very strong.
Level 5-8
- Read this lesson on lift.
- You can try some of the suggested activities. Can air really hold things up? Do the experiment below.
- Experiment: fill a glass 2/3 full of water and cover with an index card (or cardboard or stiff paper). Hold the card in place securely and flip the cup over. Remove your hand. The 14.7 pounds per square inch of air pressure will hold the water in it’s place.
- Take a look at this lift explanation with animation. What does air speed have to do with air pressure? What does that have to do with creating lift? (answer: Faster air has lower pressure. Angled wings wings creates faster moving air above the wings, creating higher pressure under the wings. Higher pressure pushes up towards the lower pressure area above the wing.)
Level 1-4
- Watch the video below on air pressure.
- Try this experiment: stretch a balloon over the opening of an empty 2 liter bottle. Place the bottle in a pan or bowl of super hot water. The air inside the bottle will heat and expand, creating more air pressure. It will press on the rubber of the balloon and expand it a little. Place the bottle in a pan or bowl of ice water and the balloon will deflate. The air in the bottle will cool down and the air pressure will lower and stop pressing on the balloon.
Level 5-8*
- Try this experiment. Blow a ziplock bag. Seal it almost all the way. Give it another big puff and seal it closed. Put it in the freezer. Check on it in 10-15 minutes. Did it deflate some? Why? Air expands when it is hot, increasing the pressure it’s putting on the bag. Air pressure is lower when the air is cooler.
- *Fill out an experiment worksheet.
- Watch the video below on air pressure. (You can try it if you like.) Can you answer the questions?
Lesson 38 (Materials for Level 5-8: 2 paint stirrers and two rubber bands, may be able to use popsicle sticks or even paper folded over and over on itself to make a stiff “stick”)
Level 1-4*
- We’ve learned that lift is caused by creating high air pressure under the wings of the plane. The air lifts the plane up.
- A helicopter works in a similar way. The airplane drives forward, pushing the air over and under the wings, creating the change in pressure so it can lift off. A helicopter twirls its blades to move the air over them. They are also creating higher air pressure under its blades which causes the lift.
- *Make a motor rotor. Use the template to make the paper blades. Drop it and watch it in action. Make observations? Why doesn’t it just drop?
- Tell how lift is created with your motor rotor.
Level 5-8
- Make a boomerang.
- Tell how lift is created with your boomerang.
- Here is a YouTube video with directions for an origami boomerang. Get permission before going to YouTube.
Level 1-4
- Take a straw and hold it in the air. Let go of it. It falls, right? What needs to happen to make it fly (at least a little bit)? It needs thrust, a push in the right direction. 🙂
- Do this experiment and read through the steps, questions, and answers. Do the extra experiments if you like.
- Here’s a video of the experiment.
Level 5-8
- Today you will learn about thrust, the push that moves the plane forward.
- Read through part 1. You don’t have to try the experiments, but you can.
- Build an engine (part 2 of the booklet).
Lesson 40
Level 1-4
- Review the flight forces: lift, thrust, weight, drag.
- Describe to someone each force and what it does.
Level 5-8
- Do the activity on flight forces.
- The forces need to be in balance. One combination will get the top speed. Another combination will get the top altitude. Accomplish one of them today.
Level 1-4
- Do you remember the four forces of flight? What are they?
- Build a glider. Read and follow the directions. Answer the questions. Experiment. Find the proper weight and balance.
Level 5-8
- Review flight forces.
- Build a glider. Read and follow the directions. Answer the questions. Experiment!
Lesson 42
Level 1-4
- Review flight forces.
- Can you answer the first four questions?
Level 5-8
- Move the plane around.
- See if you can fly at all. Gain speed and then use the arrow keys (down!) to get into the air and then steer. What forces are at work? Why does pushing on the down arrow make the plane go up, and the opposite? (Think about where the air is pushing.)
Lesson 43
Level 1-4
- See if you can fly at all. Gain speed and then use the arrow keys (down!) to get into the air and then steer.
- What forces are at work? Why does pushing on the down arrow make the plane go up, and the opposite? (Think about where the air is pushing.)
Level 5-8
- Finish the activity on flight forces.
- The forces need to be in balance. One combination will get the top speed. Another combination will get the top altitude. Complete the second task.
Lesson 44
Level 1-4
- Try this activity on flight forces.
- The forces need to be in balance. One combination will get the top speed. Another combination will get the top altitude.
Level 5-8
- Answer the questions the best you can.
Lesson 45
Level 1-4
- Watch the short Amelia Earhart movie.
- Read about sodium.
- Cut out your sodium piece and add it to your Alkali Metals Group lapbook page.
Level 5-8
- Watch the short video on Amelia Earhart.
- Read about sodium. Use this link as well.
- Cut out your sodium piece and add it with your others.
- If you want, you can watch the sodium video.


No comments:
Post a Comment